|
|
Post by MercuryMan on Dec 23, 2011 21:32:15 GMT -4
Hey, Mario! I assume you must gown up and wear gloves when working around the front end of that beast!! May I suggest a solution of dettol and soap for clean up and then a darn good shower!! LOL, Bob I'll bet you he works pretty fast too...LOL ;D |
|
|
|
Post by SS10 on Dec 24, 2011 1:16:51 GMT -4
Not to worry Bob, one of these days when you decide that you would like to go fast and stay consistent with little to no trouble, YOU"LL SEE THE LIGHT and a BOW TIE will lead your way lol, remember look at Mike Goldens cars rear hatch and I QUOTE " BUILT FORD TOUGH WITH CHEVY STUFF " hahahahahahaha so true lol.
|
|
|
|
Post by MercuryMan on Dec 24, 2011 8:22:08 GMT -4
Mario's got enough blue blood to keep him safe.... ;D....And the new mill he's going to build with the $$$ made will make sweat out any illness's the bowtie tries to give him.  ;D. Still going to be a fine shoebox laying in the weeds. Can't wait to see the finished pics.  |
|
|
|
Post by mario428 on Dec 24, 2011 14:27:20 GMT -4
Spent some time yesterday and today and the project. Got the lower control arms in and 1 upper. Have to excusee the pictures, all twisted up under the car using my phone (too lazy to get the camera ;D ;D) Front of lower control arm, had to nothc that crossmember so I could get the LCA parallel to the frame  REar bracket on the housing was just a matter of getting it perpendicular to the frame 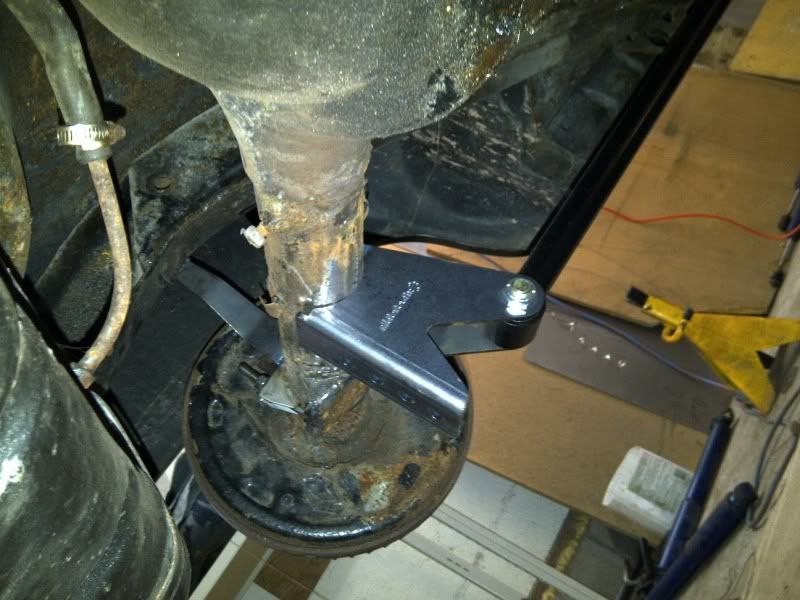 Upper control arm is a little harder because it is at an angle but positioned on rear end and frame to be parallel. Sorry blurry pic  Pic of how the front of the control arms look on the frame. 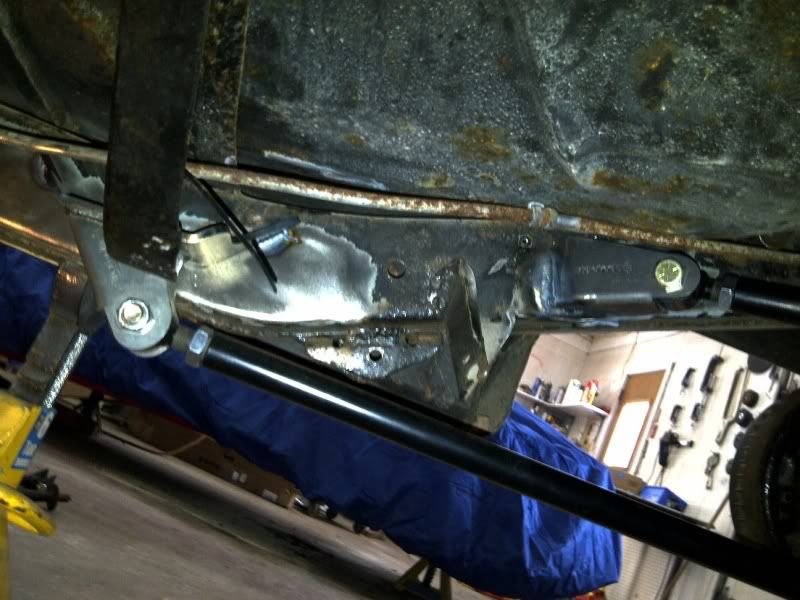 Now comes the hard part, the other upper arm has to end up in the same relative position for centerline from the rear end and height from the lower arm. Kicker is the rear end brackets get into the offset housing, going to be talking to my self by the time that is done. Tried the front shocks but need to trim more crossmember before they can go in. Finish the trimming and then they bolt right in. REar shocks are going to be a problem, floor is too close behind the rearend, may have to go in front or thru the floor. Gotta figure which is best and then see what Chris wants to do. Merry Christmas to everyone, hope you all have a good one. Out the door in a couple of hours to spend mine with my family. Everyone is here this year so it will be great. |
|
|
|
Post by mario428 on Jan 14, 2012 21:05:42 GMT -4
WEll the 50 Ford is gone from my shop. Compressor still has to be installed but everything else is complete. Dave MacKinnon will get to fix the holes in the trunk floor in the spring. LOL Some pics from where I left off. Had everything in place so disassembled it all to weld everything up Closer look at rear upper control arm bracket. I do not have a decent MIG machine so I tigged everything, all twisted up under the car welding vertically, so much fun. GRIN 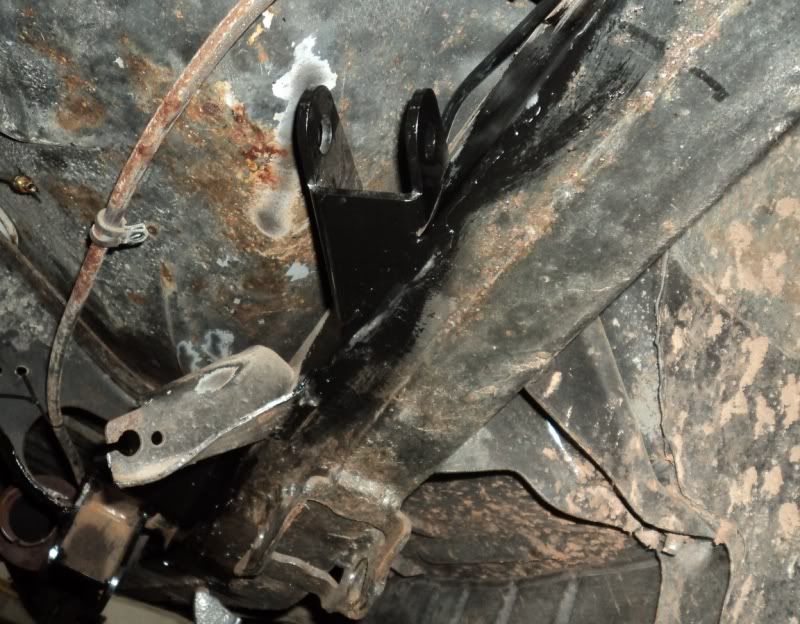 Rear crossmember with a shock mounted before it went in the car. 3 1/2 inch bolts on each side so it is not going anywhere 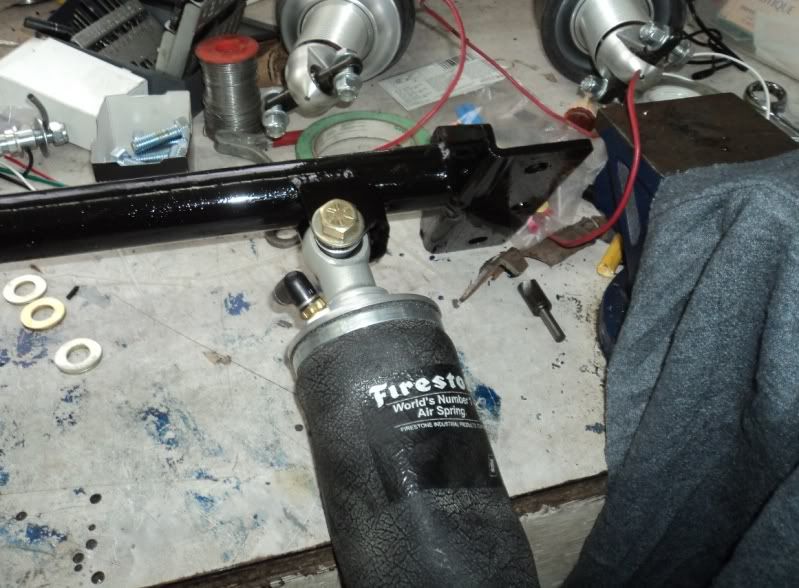 Installed the front shocks and spindles, was able to run the airline thru some of the frame to get it to the back of the car. 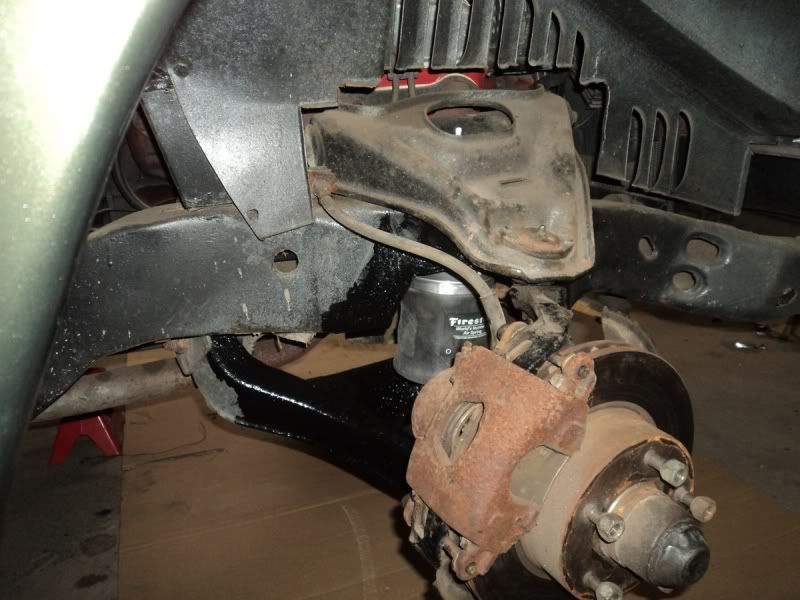 Couple of views of the rear suspension mounted, lot of adjustment on the lower bracket to set ride height. 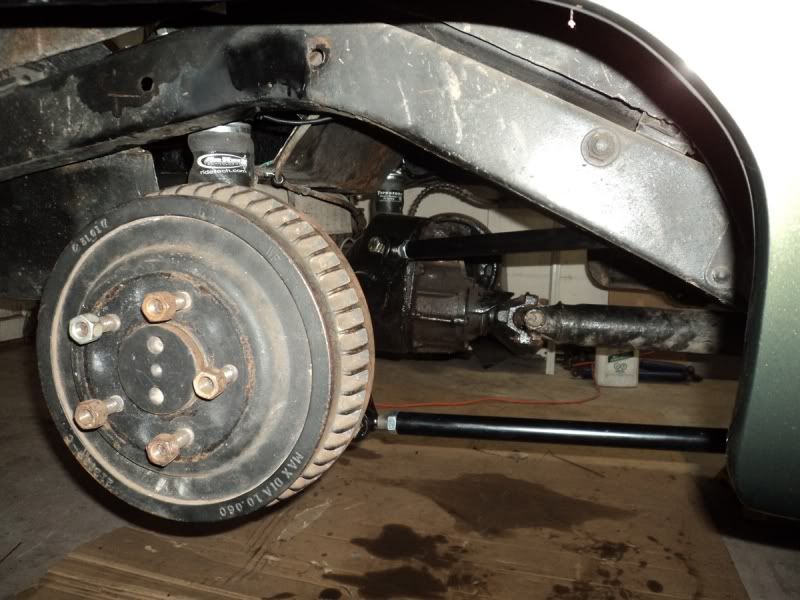 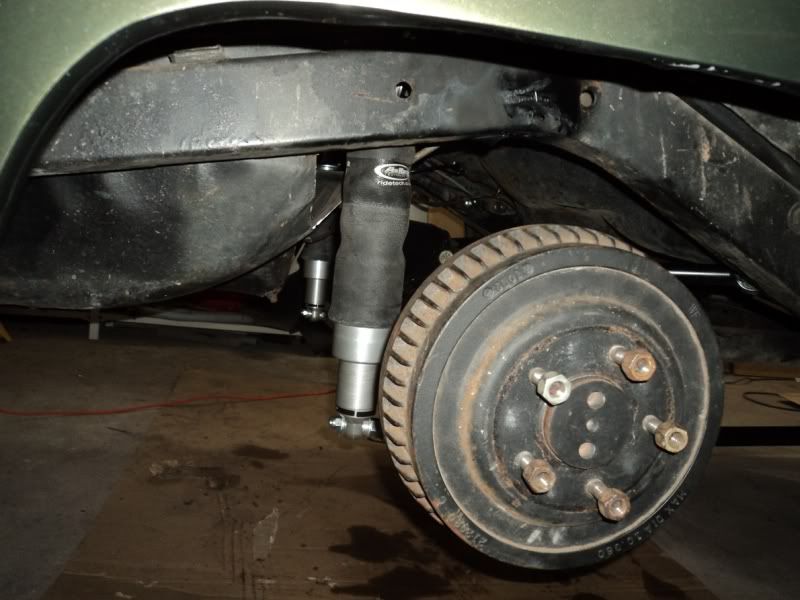 Inside the trunk went the tank and solenoid block. Little bit of playing around to get the correct wires and hoses to the correct shocks and then do the gauge lines but went better than I thought. 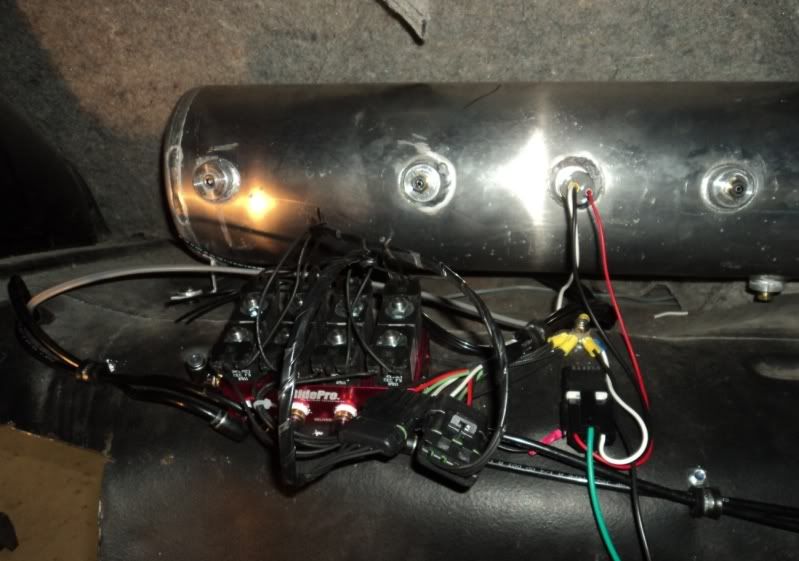 Last Sun I put the car back on the wheels and tried the system. Did not get the front end travel I figured I should have gotten but did not have the 150 PSI system pressure the on board compressor will have and did not think to roll the car so the tires could move in and out. Pics of car up and down 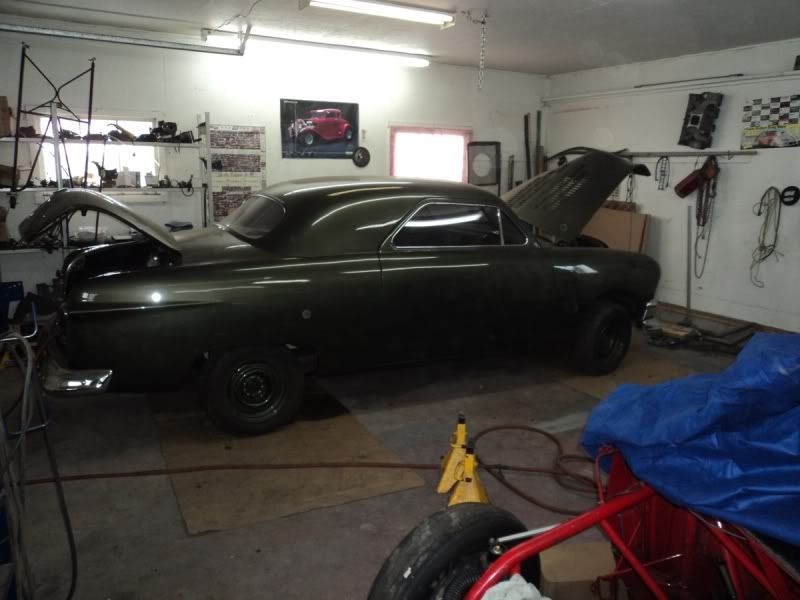 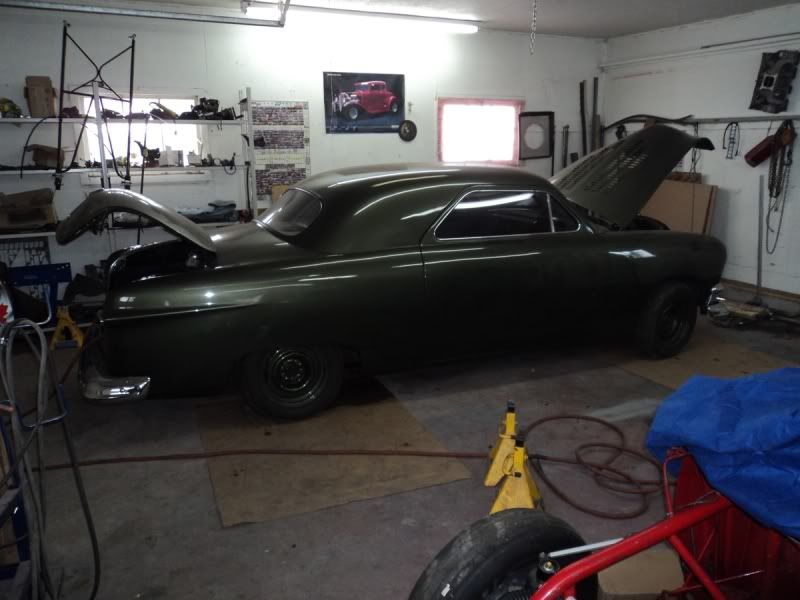 Chris has been away and has not seen the car but personally I would have hoped to see the front much lower. The rear is no problem, lots of adjustment left. All in all quite an interesting project. |
|


 ;D. Still going to be a fine shoebox laying in the weeds. Can't wait to see the finished pics.
